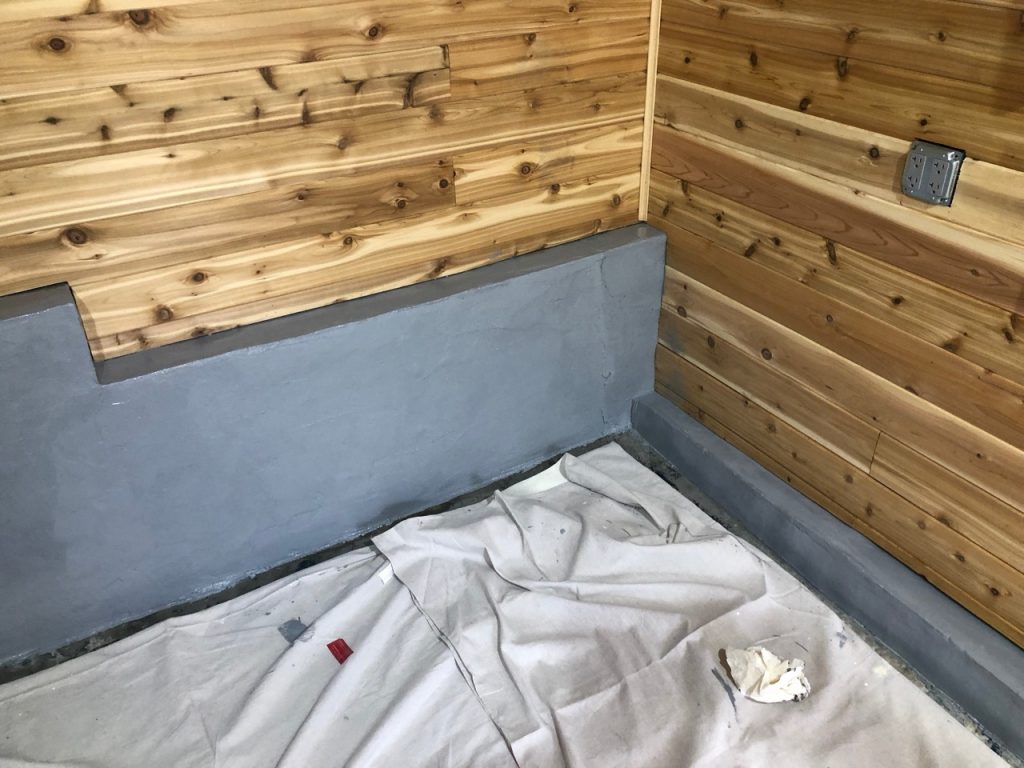
Finally, the garage was ready for the epoxy coatings of the floor and foundation. Epoxy coating a garage floor is one of the best things you can do to a garage in my opinion. It’s something I did when we moved into our Seattle house, and I couldn’t wait to have this floor coated too. For the resurfaced foundation, I used the same product I had used previously: Rust-oleum EPOXYSHIELD, a two part water-based epoxy. It’s an easy product to use and worked well for the foundation walls. It’s also not expensive.
For the floor itself, I wanted the most durable epoxy coating I could find. Again, there are a number of vendors whose epoxy coating products are probably great. I was convinced, after seeing several online videos and reading a number of reviews, to try Armor Garage. They produce a kit that includes everything you need to install their two part 100% solids epoxy coating and a top coat. They also have quite a number of color options, and because the tongue and groove cedar walls of the garage are so red I decided to use their “racing blue” to produce a nice color contrast.
Appropriate preparation (e.g., washing and acid etching the floor) and the application of a relatively thick two part epoxy is not beyond the reach of your average homeowner. With that said, you will want to fully understand each step before attempting the job. Once started, there are not very many points where you can pause to think through the project.
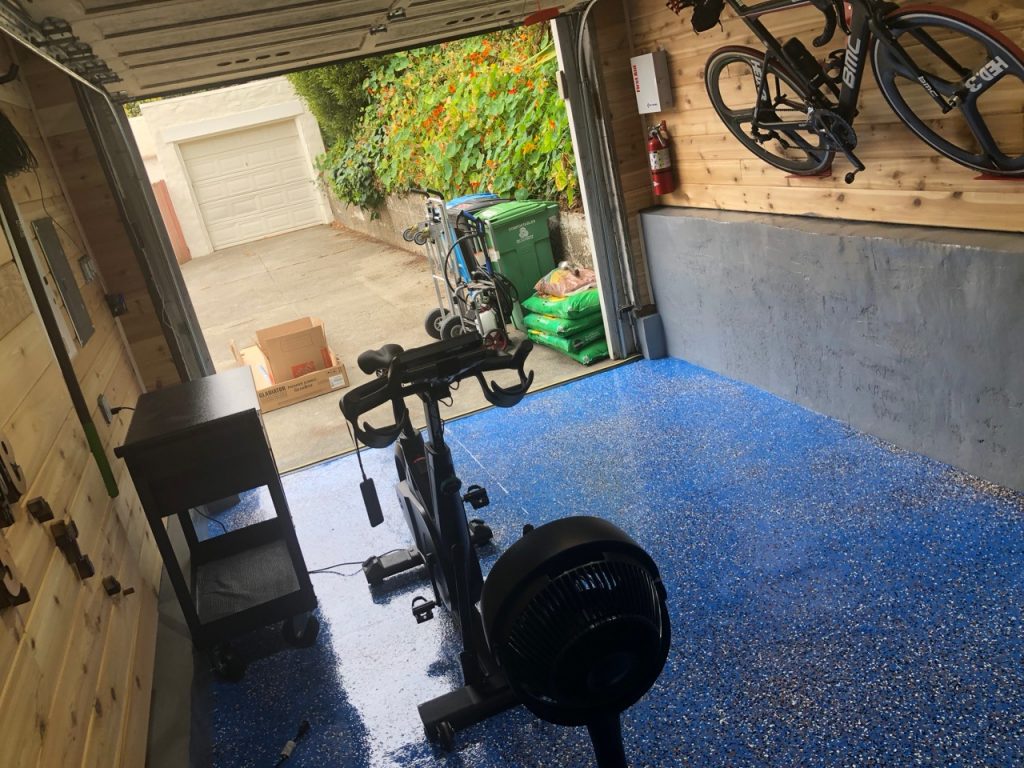
Yes, I went a little crazy with the color chips. You can choose to do it differently when you undertake your garage renovation.
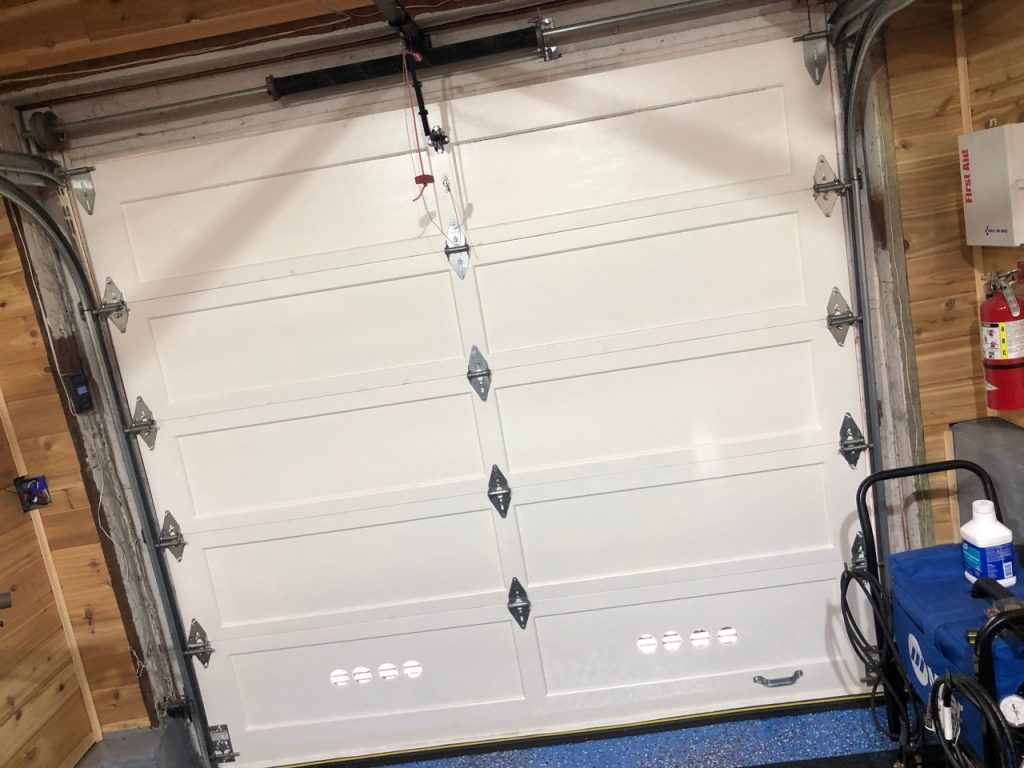
The very last task was to dismantle and paint the inside of the garage door. Two coats of KILZ 2 primer and two coats of a water-base acrylic paint did the job. The garage is now nice enough that we could move into it. 😉
Ciao!