Before any real renovation work could begin, the mold and ventilation had to be addressed. As mentioned in my Garage Renovation – Overview post, once the garage door was closed, there was no way for air to circulate. There were no vents in the garage door or ceiling. That created a perfect world for black mold, as well as other forms. Turning to the Internet, again, I found a product that works similar to the cans of bug bomb we’ve all used to eliminate insects in our houses. In this case, it is actually called MoldBomb.
Some of the claims about this product sounded too good to be true. I can, however, attest to it living up to the hype. One can of this fogger and the garage seemed clear. It wasn’t as if the fogger perfumed the space or filled it with a chemicals. Instead, the air smelled just like the air outside of the garage: clean.
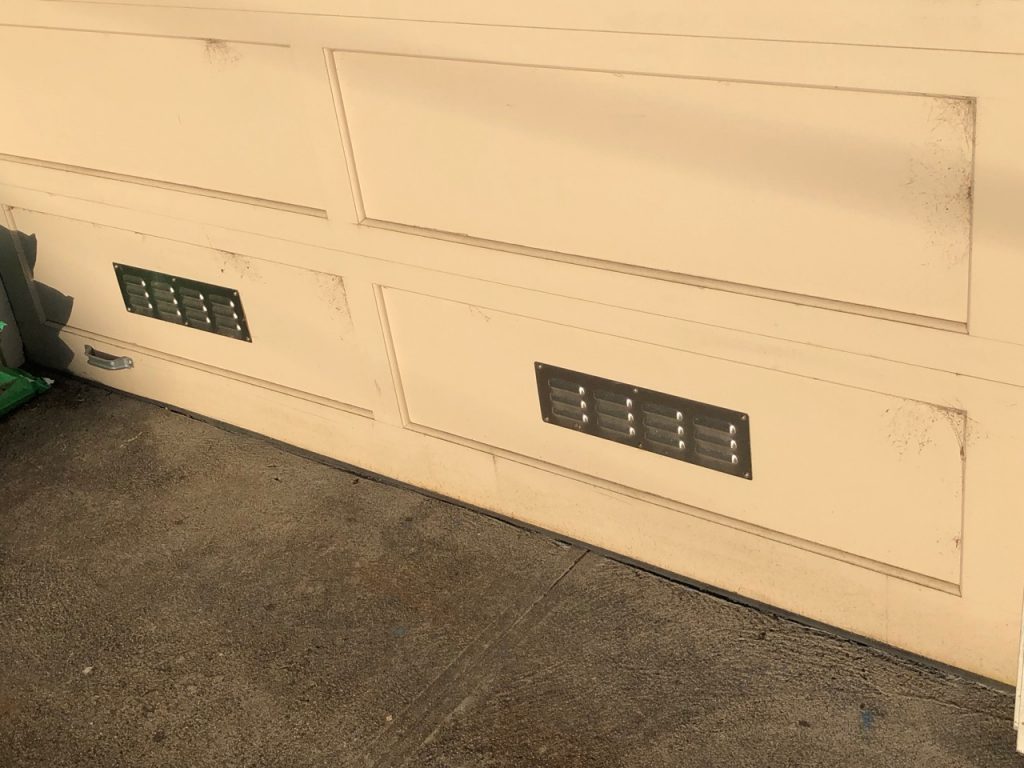
To add ventilation, I cut holes in the lowest panel of the garage door and added stainless steel vents attached with stainless steel screws. (I’m making the point about stainless steel because there are plenty of regular steel vents and screws that will rust rapidly in our salty San Francisco air. Aluminum would have been another choice, but they all seemed too flimsy.)
Then I added a solar powered fan in the ceiling, which drew air through the garage door vents and exhausted it outdoors. The one I choose was Remington Solar’s 30 watt attic fan. It has an optional direct power feature that will switch between solar power and utility power when there isn’t sufficient sunlight. I added that option at a later date to make the fan run continuously 24 hours a day. The fan also has a temperature switch that is designed to turn the fan on when it senses temperatures of 80F or above. It was simple to bypass that switch, which I did.

With the mold remediated and the good airflow to dry out the garage, the serious work could begin.